Since there is plenty to say about this subject I am sure that I will write something in a later stage again. But for now I want to start with the basics.
In wine making acidity is usually measured in gram tartaric acid per liter. So if you say: The acidity of this wine is 7, it means that in 1 liter wine there is an amount of different acids as if it was 7 gram of tartaric acid.
Citric acid and malic acid are stronger than tartaric acid so you need less of them to reach the same acidity.
To be exact:
You only need 0,9 gram of malic acid to increase the acidity with 1.
And you only need 0,85 gram citric acid to increase the acidity with 1.
Normal values for acidity would be 4 or 5 for a red wine, and 6 to 8 for a white wine but a little higher or lower is also no problem. Since yeast also eats a little acid during fermentation it is again not a very exact science.
As you have seen in the story about the specific gravity table for wine it is also nice to know the acidity because it helps to predict how much sugar is available.
How the test works:
The most that you want to measure is acidic. The opposite of acid is a base. In the middle you end up with a neutral fluid.
So you take a sample of the acidic most. You add a base to it and when it becomes neutral you see that the color of the fluid changes.
With the test kit you can see exactly how much base you added and this tells you how much acid there was in your sample.
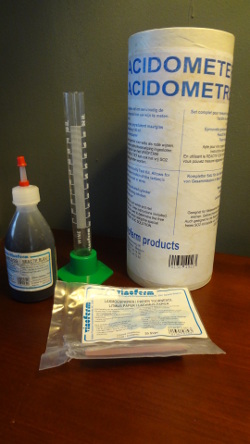
This is the set: A glass tube with a scale, some litmus papers, and a blue indicator (the base). Of course there are also instructions included but naturally men don’t need them.
Let’s measure the acidity of this apple juice.
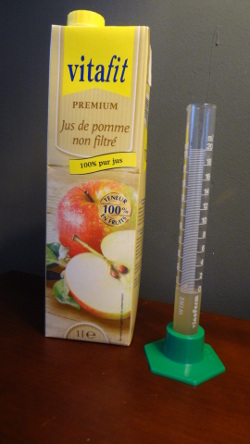
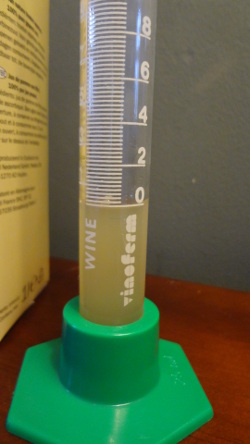
Fill the tube with the juice up to the 0 level. This should be done rather precise.
Add the blue indicator until the color changes.
I assume that this will be around 6 or 7 so I add the indicator immediately up to 4. After that I increase in steps of 1.
Mix the blue indicator with the juice by shaking the tube. Try not to create foam.
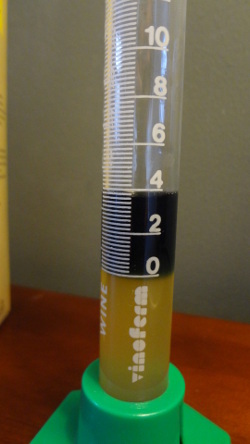
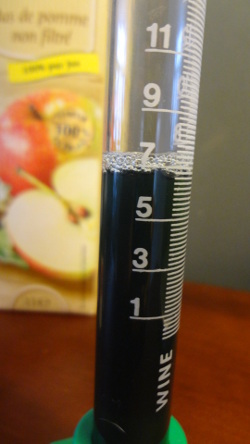
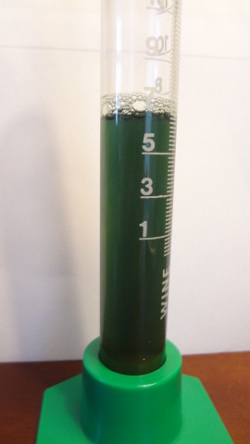
At 7 the color has definitely changed. On the first picture it looks blue which means that I added too much base.
However if you look at the sample with a white background it is dark green. That’s more or less ok. I would say that the acidity is somewhere between 6 and 7. I could do the test again to be more precise but as a hobby wine maker I would accept the result 6.5.
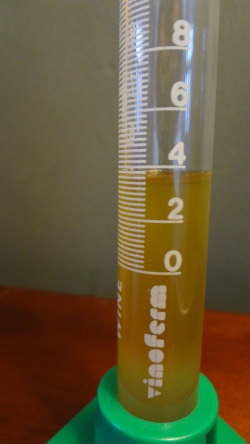
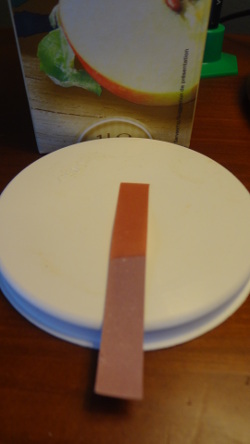
With the litmus papers you can check it. Dip the paper in the sample. If the color turns to orange (as in the picture) you have to add more blue indicator. If the color turns blue you added too much. And if the color does not change it is ok. I almost never do this check.
And that is it. A very simple and cheap way to determine the acidity.
Some notes:
- The blue indicator is poisonous and should not be consumed. After the test you must throw away the sample.
- The juice used in this test is very light. It is not too difficult to see the change in color. For dark juices it gets more difficult and in some cases it is almost impossible to see the change. There are some tricks that help (a bit) which I will explain in other stories.
- I would suggest to practice a few times before you really need to do a measurement.
- In the instructions it is mentioned that CO2 influences the measurement. I did not understand it at first because CO2 is not an acid. However, CO2 + water can form H2CO3. This is an acid. Normally the amount will not be a problem but I guess that it can be a big influence if you want to measure a fermenting juice.
- The strength of the blue indicator decreases in time but if it is not opened frequently you can use it for a long time. I store mine in the refrigerator. I don’t know if it matters but cold and dark always seems to help if you want to store things for a longer period of time.
Hans

